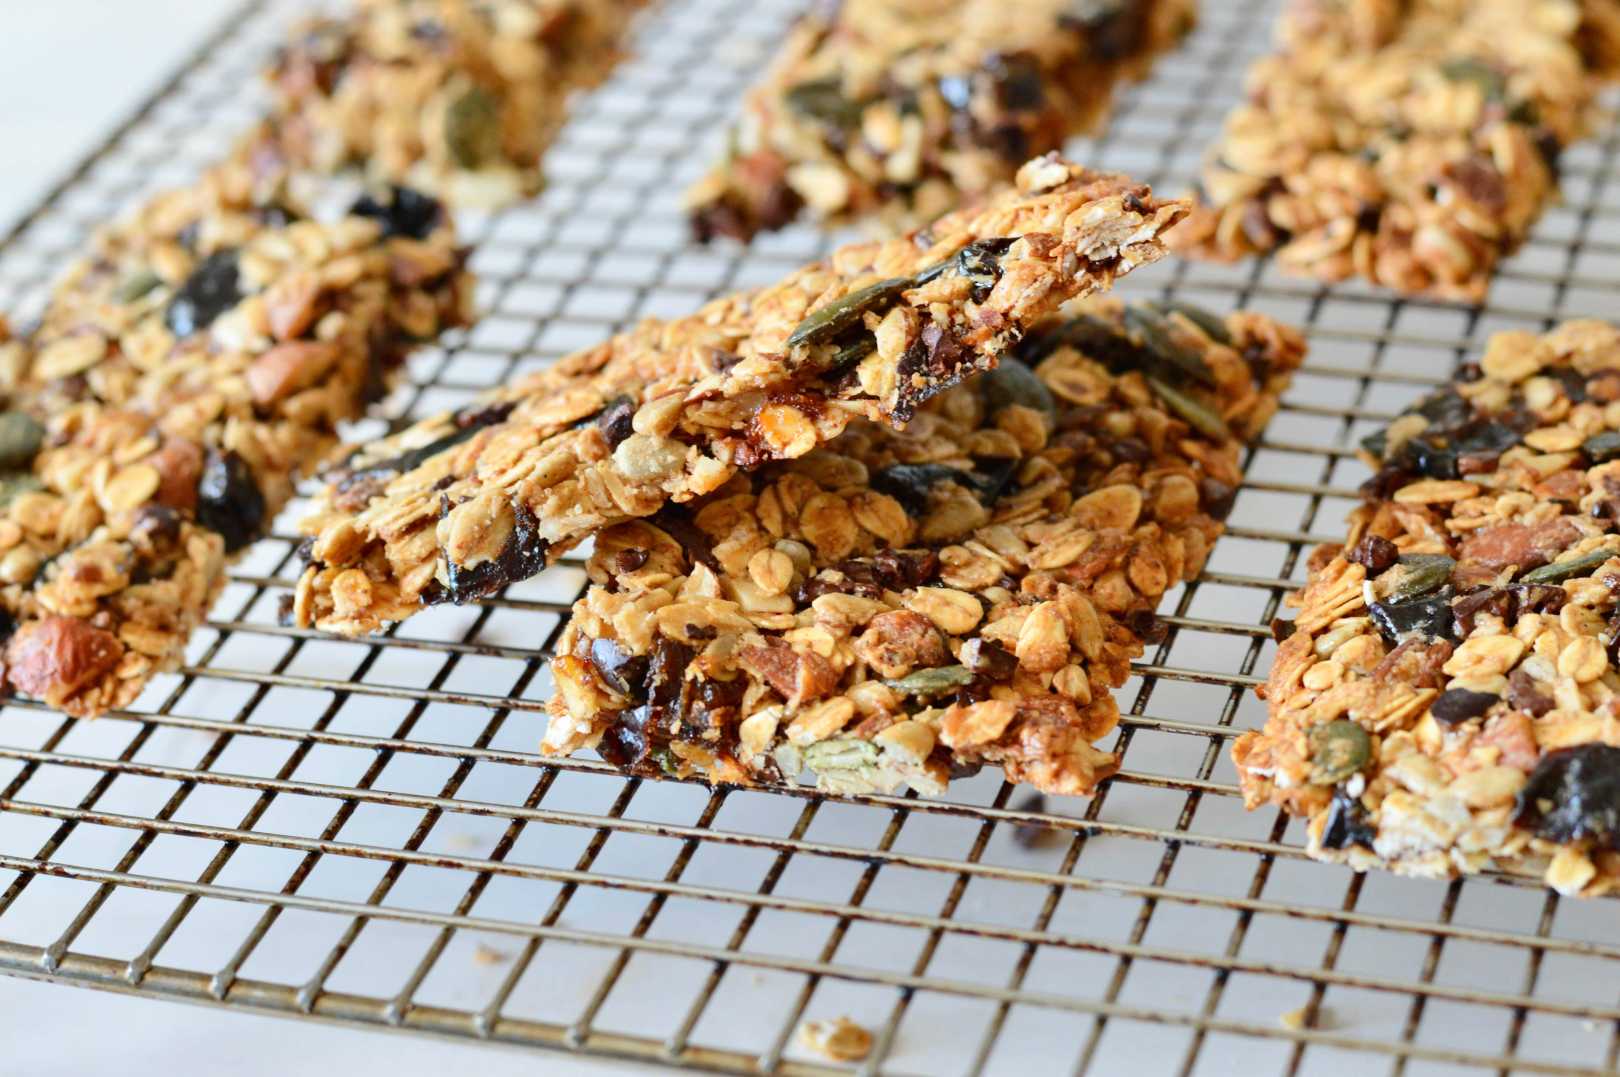
These homemade granola bars are packed with oats, nuts, seeds, cacao nibs, nut butter, and dried prunes, making them a healthier alternative to most store-bought options.
To give them a crunchy texture, I added a tablespoon of melted coconut oil and baked them for 25 minutes. The prunes and maple syrup provide natural sweetness and help bind the bars together.
Prunes are a nutrient powerhouse—rich in fiber, calcium, potassium, and vitamins A and K. Compared to dates or other dried fruit, prunes are lower in carbs and calories, and their low glycemic index means they won’t cause rapid blood sugar spikes. Regular consumption can also promote digestion, support bone health, and boost heart and metabolic health.
Next time you’re making granola bars, consider swapping in prunes for added flavour and health benefits. Check out the step-by-step recipe below!


Crunchy Prune Granola Bars
Equipment: One large baking sheet lined with parchment
Makes 24 bars
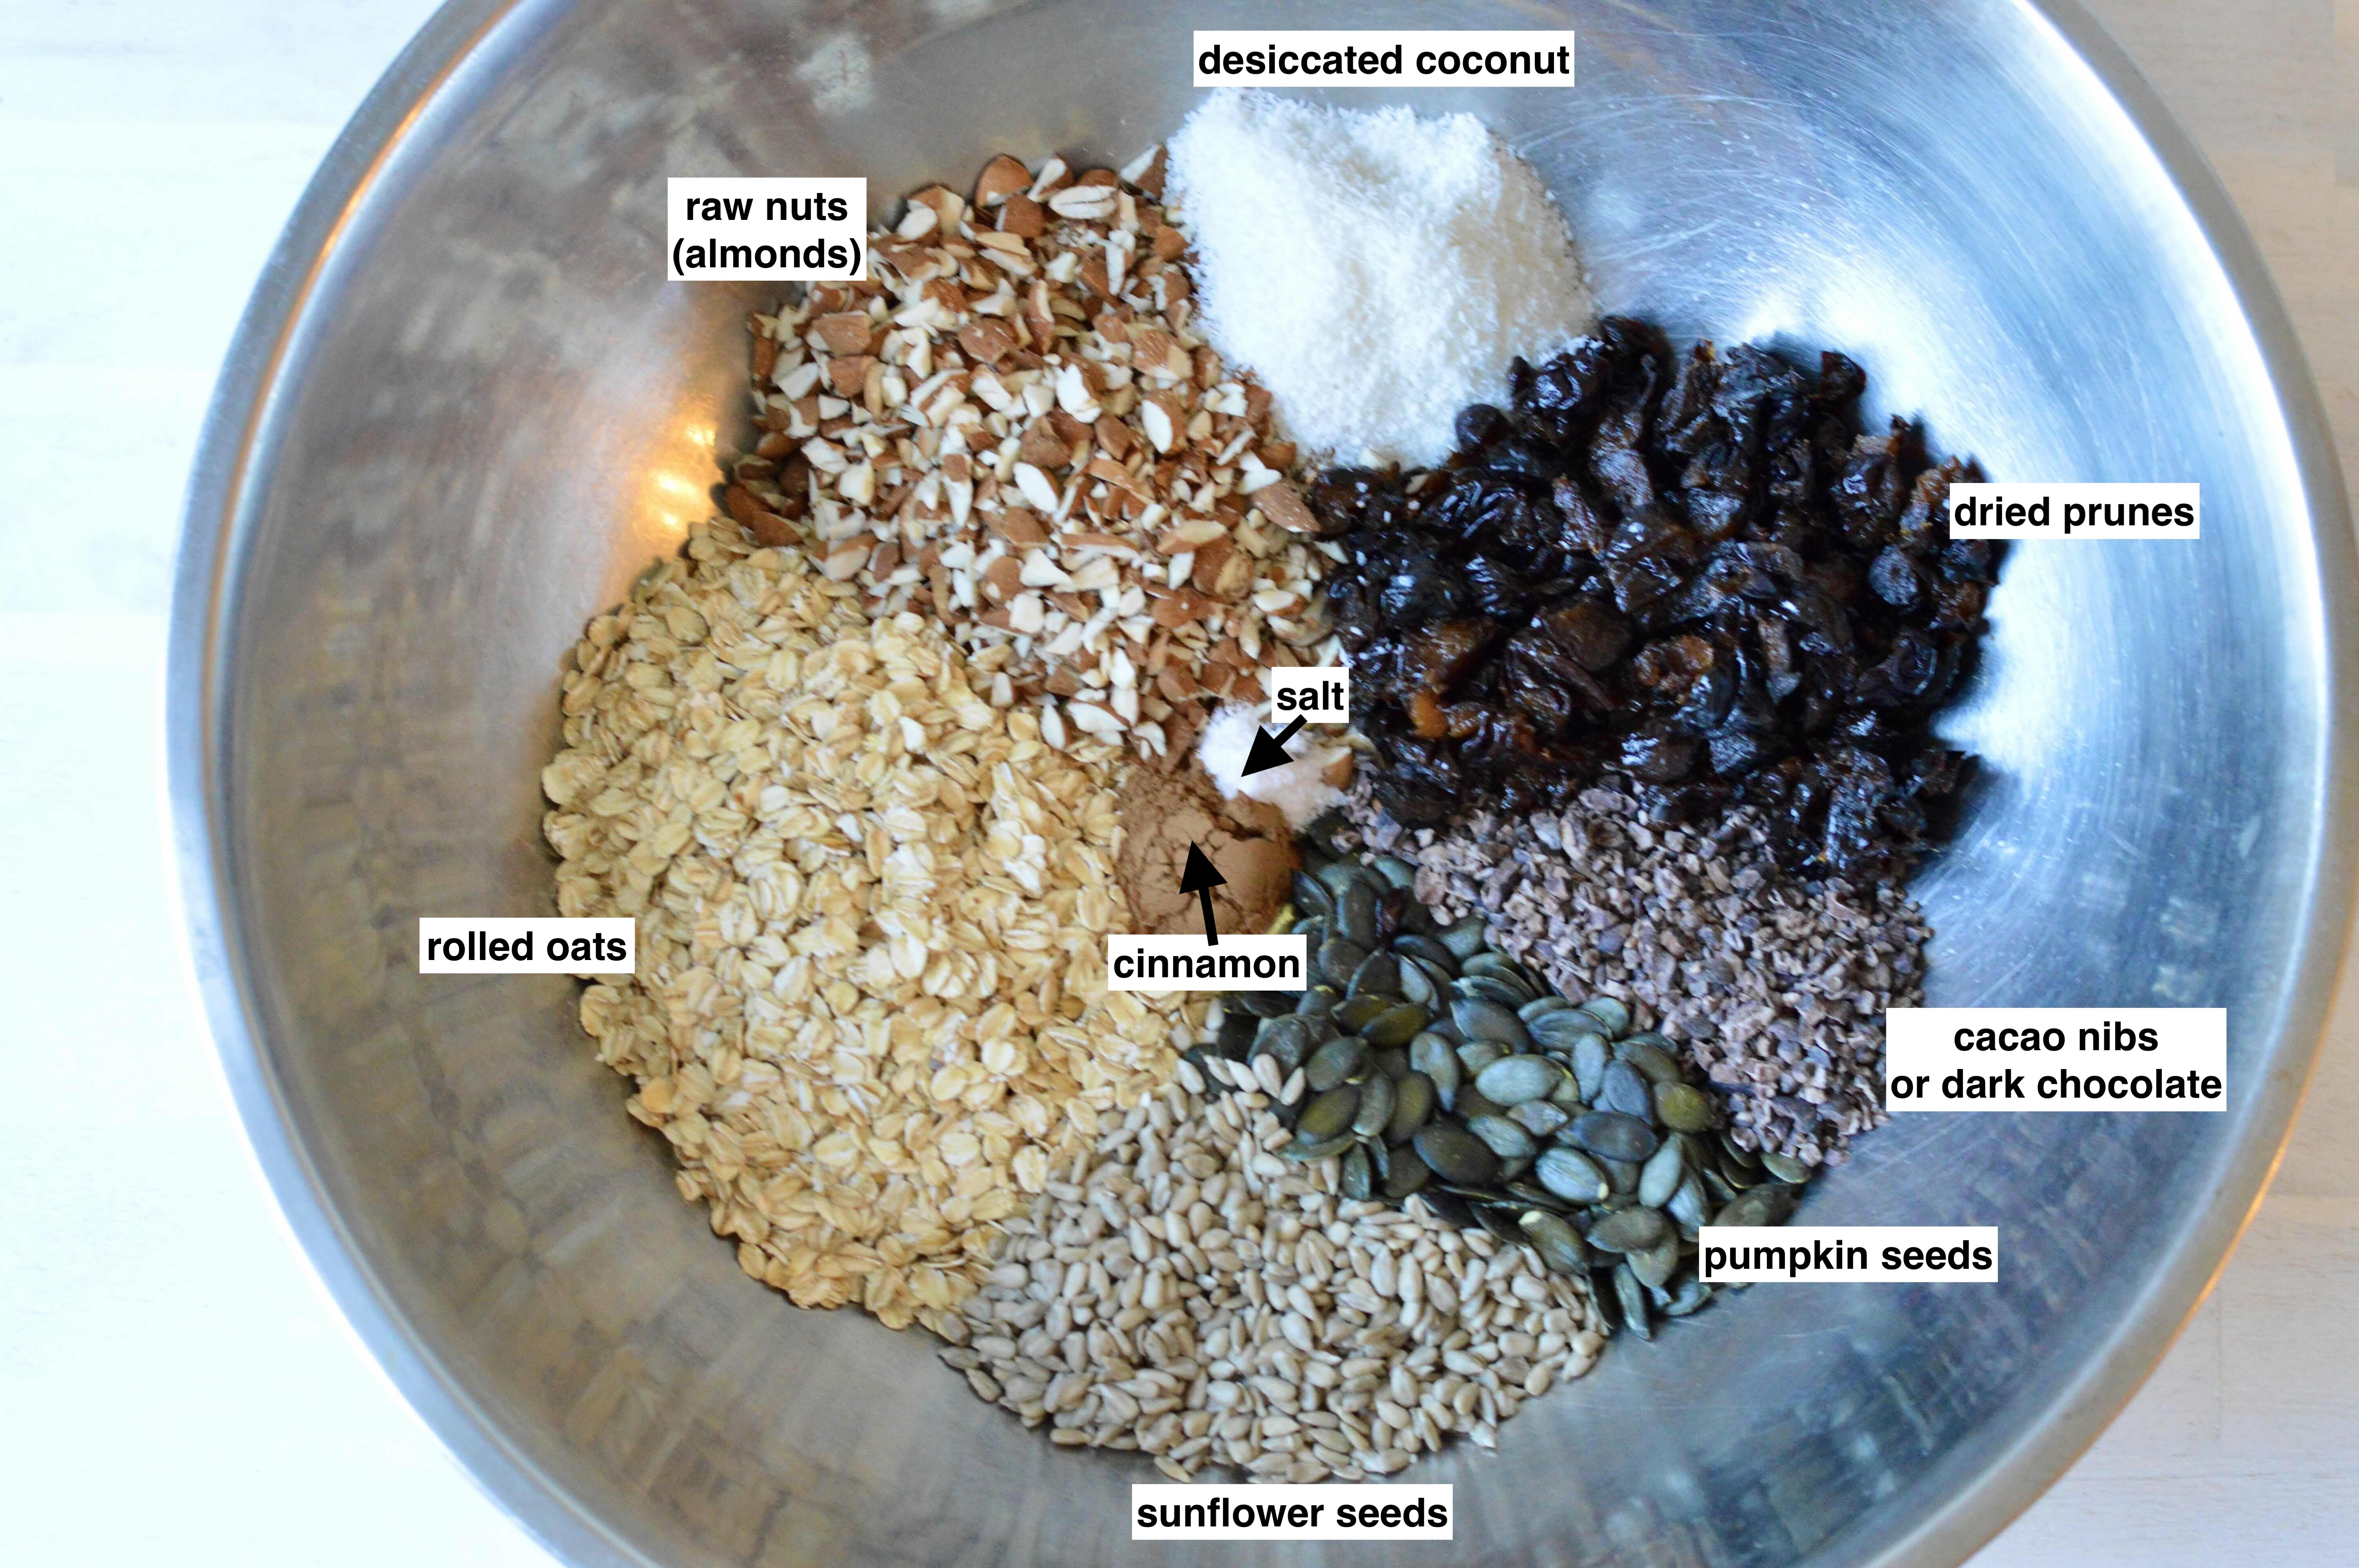
INGREDIENTS
Dry

- 11/2 cups (175 gr) rolled oats
- 1 cup (150 gr) raw nuts or a mix, chopped or slivered (e.g. almonds, walnuts, pecans, peanuts, cashews, pistachios)
- 1/2 cup (80 gr) raw sunflower seeds
- 1/3 cup (55 gr) pumpkin seeds (pepitas)
- 1/3 cup (30 gr) desiccated coconut (or raw hemp hearts, sesame seeds)
- 1 cup (200 gr) dried pitted prunes, chopped small
- 1/3 cup (50 gr) cacao nibs (or 70% or more dark chocolate, chopped) *Note 1
- 1 tsp ground cinnamon + 1/2 teaspoon (tsp) salt
* Note 1: Cacao nibs are considered healthier than processed cocoa or chocolate because they contain more minerals and antioxidants. They are also lower in sugar content and calorie. If you can’t get cacao nibs, your next best choice is 70% (or more) dark chocolate, chopped small.
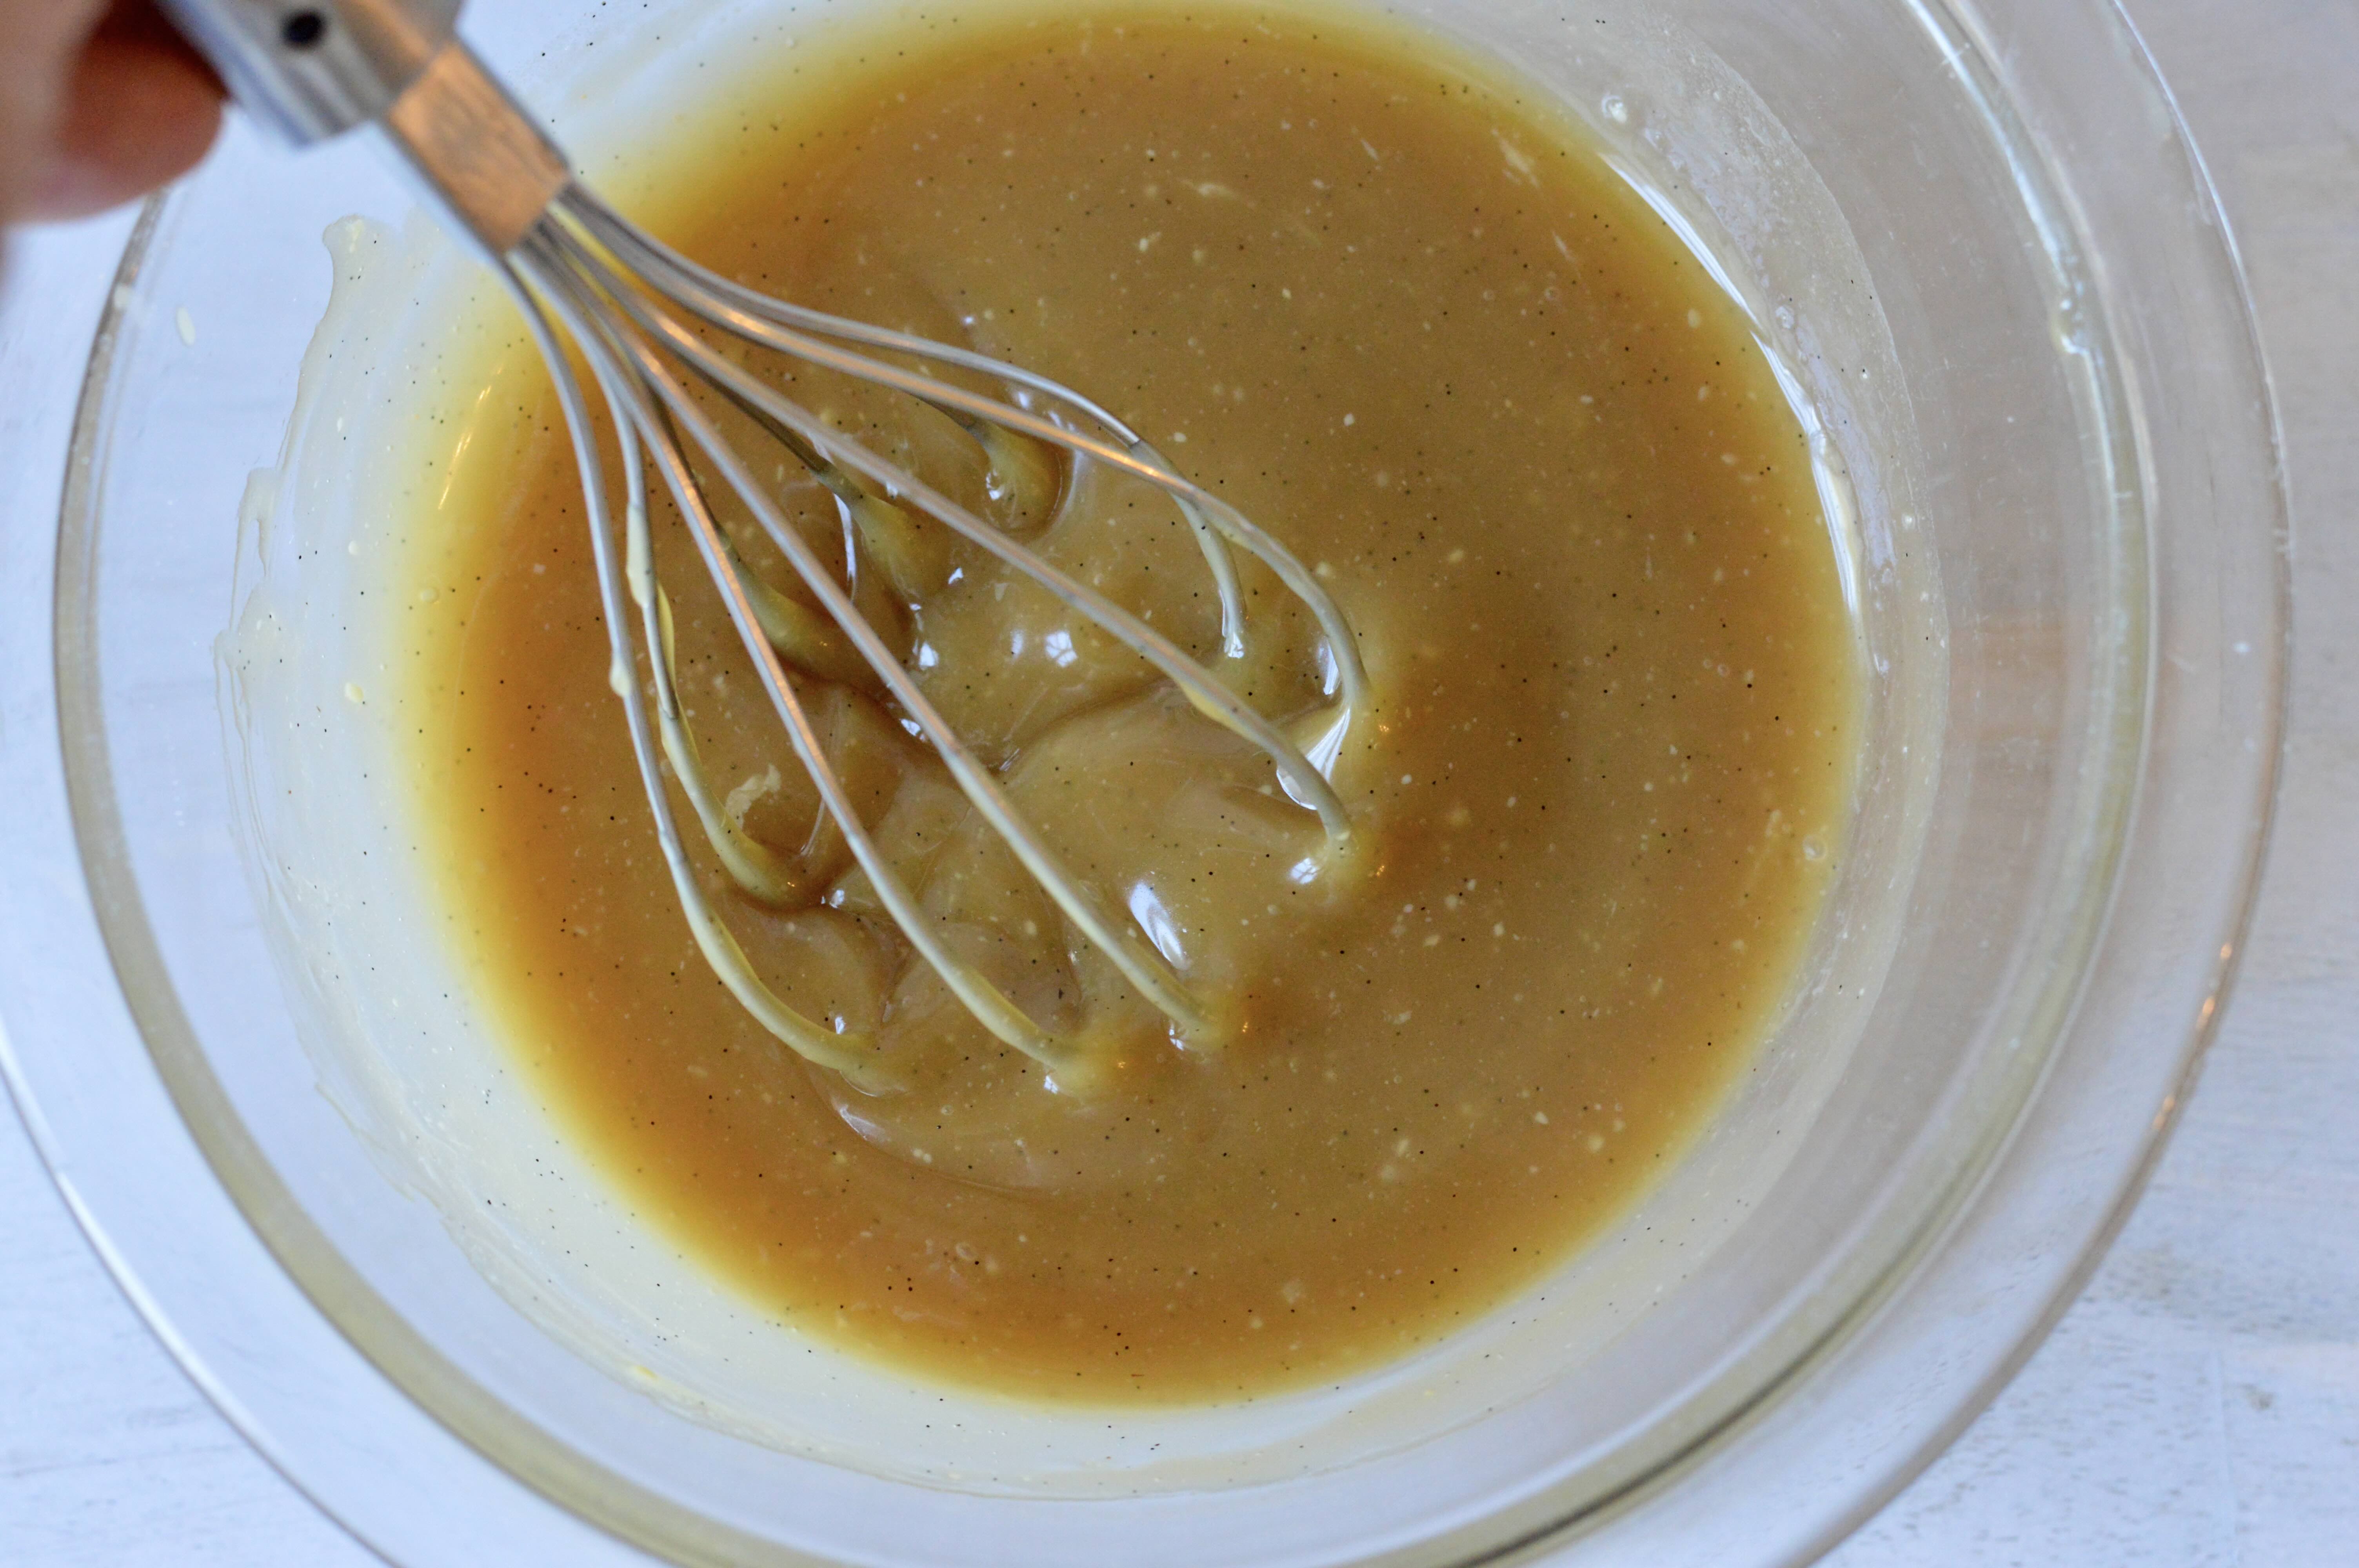
Wet
- 1/3 cup (90 gr) smooth nut butter (almond, cashew, peanut or tahini)
- 1/3 cup (114 gr) maple syrup or liquid honey
- 1 tsp vanilla paste or extract
- 1 tablespoon (tbsp) coconut oil, melted (add last) *Note 2

* Note 2: You will not taste the coconut oil in the bars. However, just adding a small amount helps bind the bars together and make them crunchy. Do not add more than one tablespoon. Coconut oil has health benefits, but it is high in saturated fat, so always use it in moderation. To heat it up (it has to be in liquid form), put in microwave for a few seconds on low heat. If your home temperature is warm, the oil may already be in liquid form.
PROCEDURE
Oven: 165°C / 330°F
Step 1. In a small bowl, whisk the nut butter, maple syrup (or honey) & vanilla until smooth. Do not add the melted coconut oil now to avoid clumping with colder ingredients. Set aside.
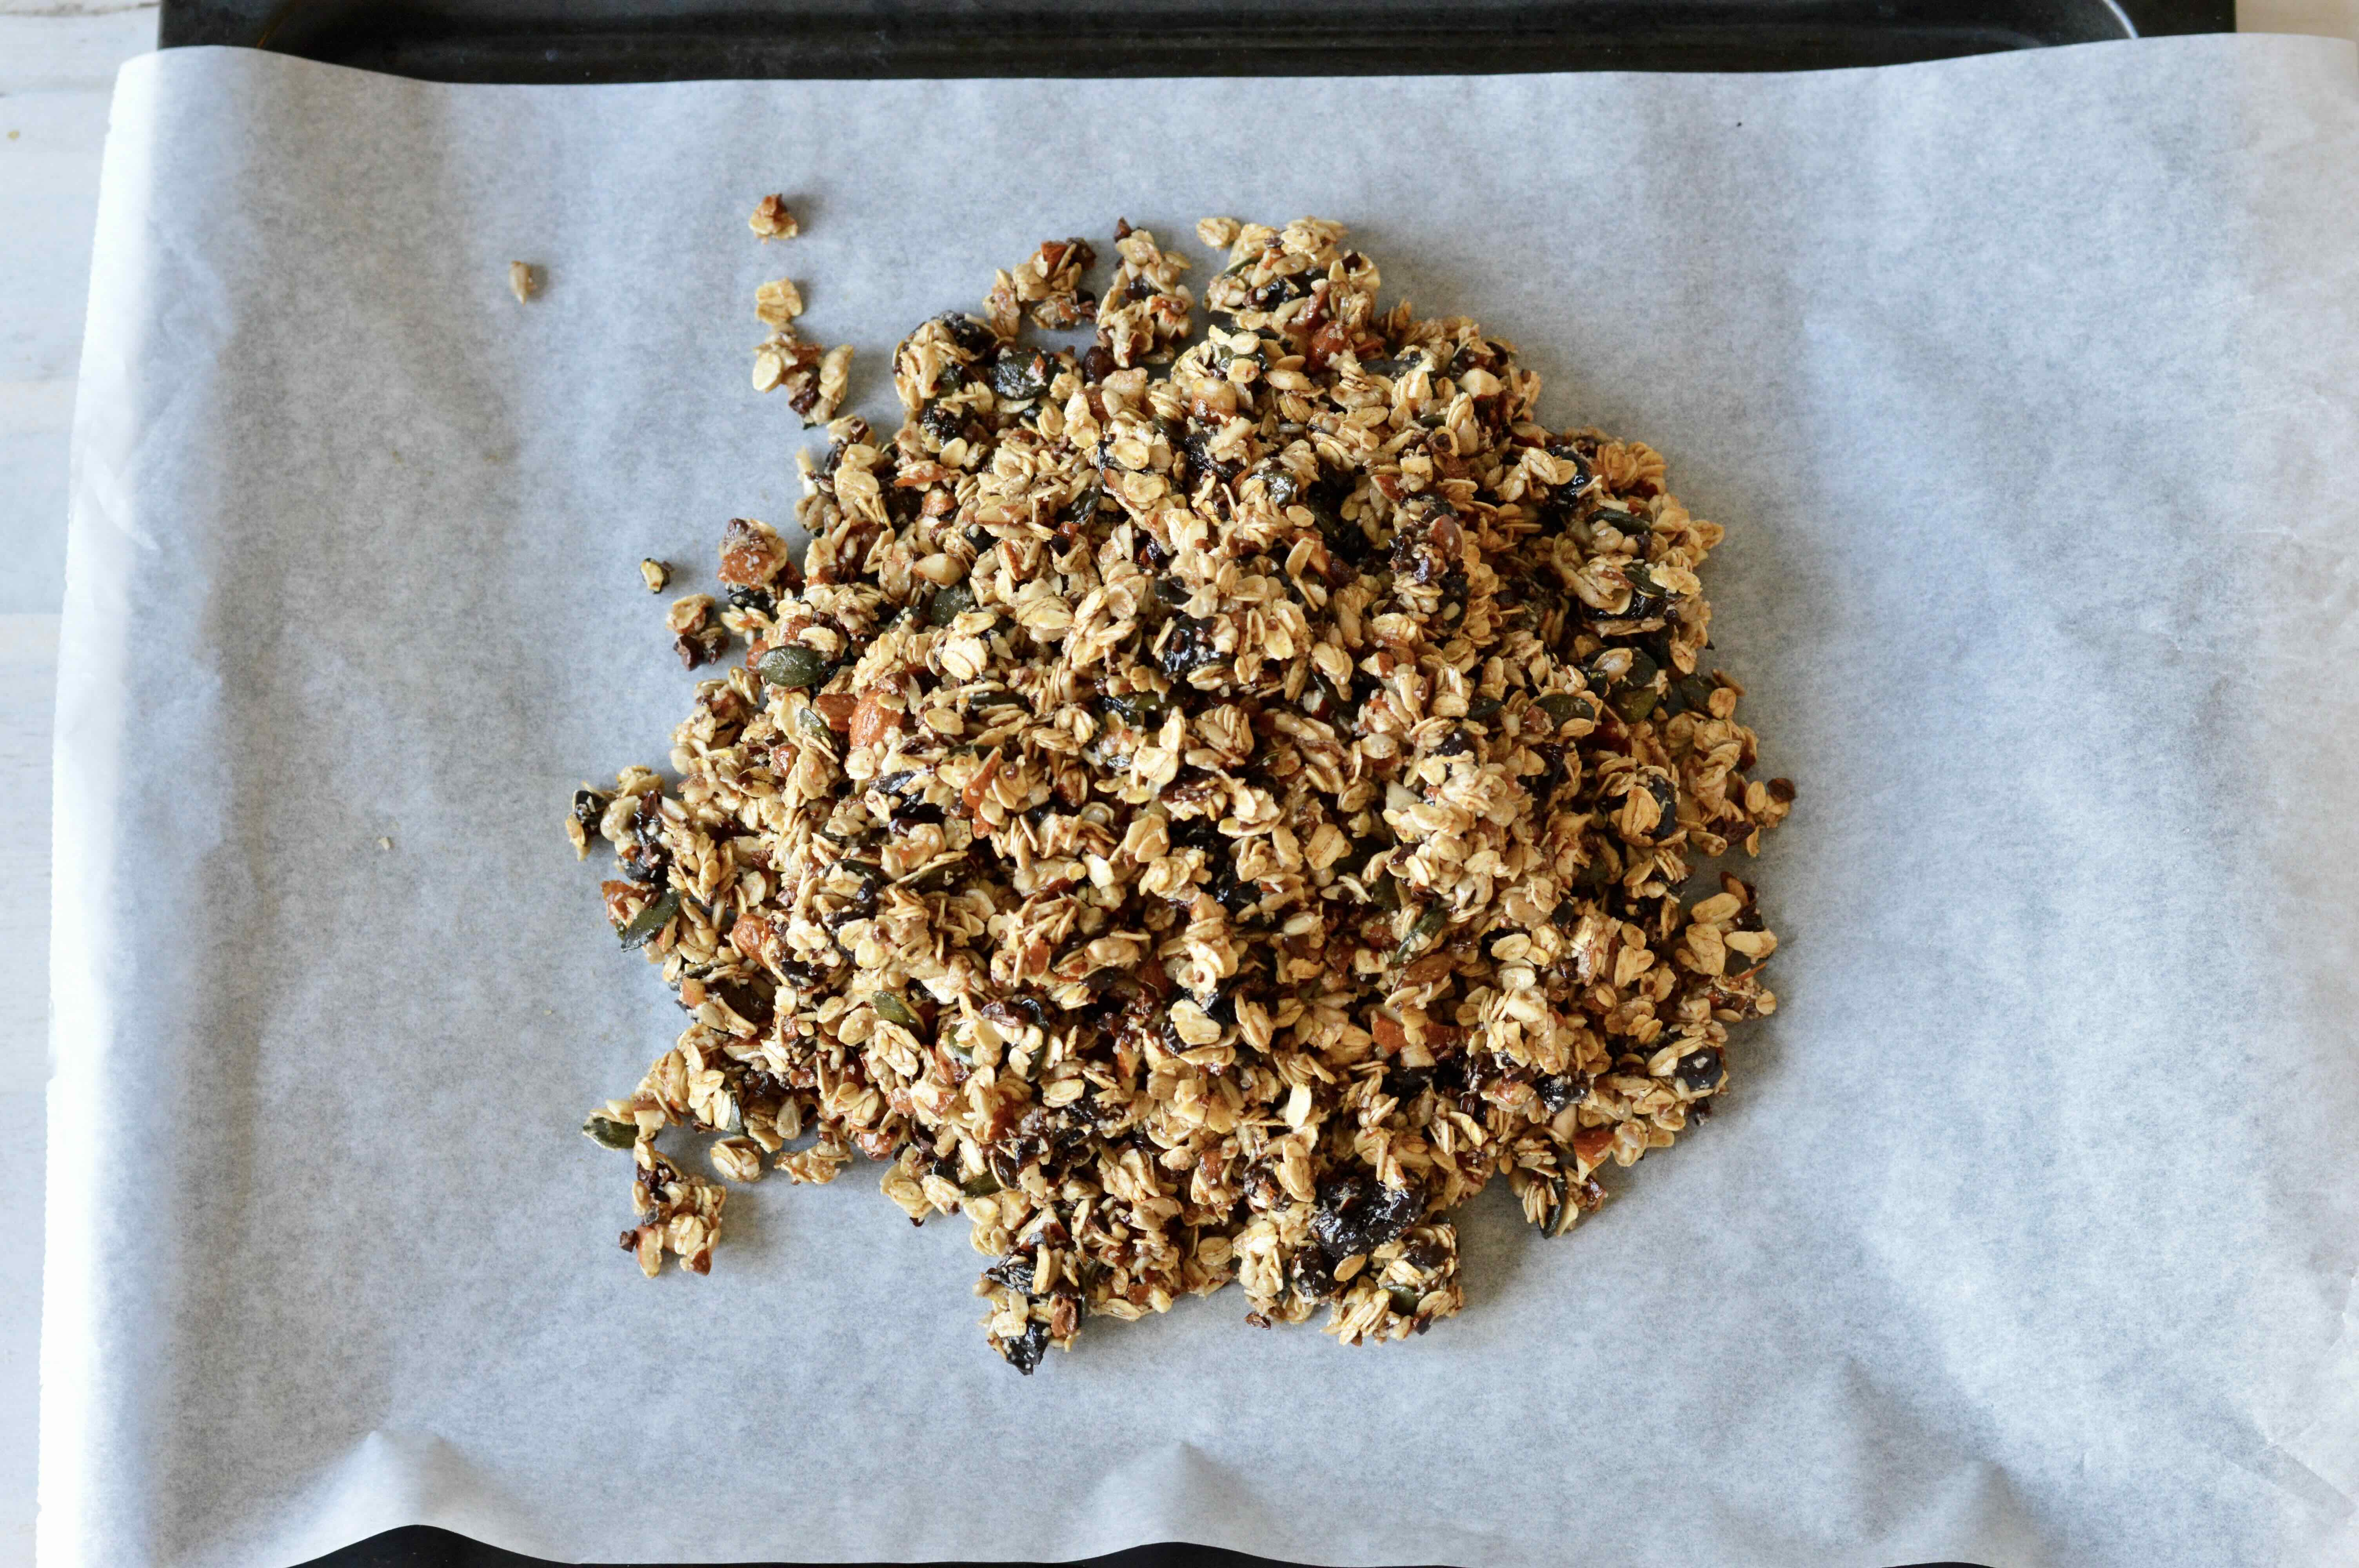
Step 2. In large bow: (1) Add the dry ingredients and mix with spatula. (2) Add the nut butter mixture and mix until combined. (3) Add the melted coconut oil. (4) Mix until oil is incorporated throughout.

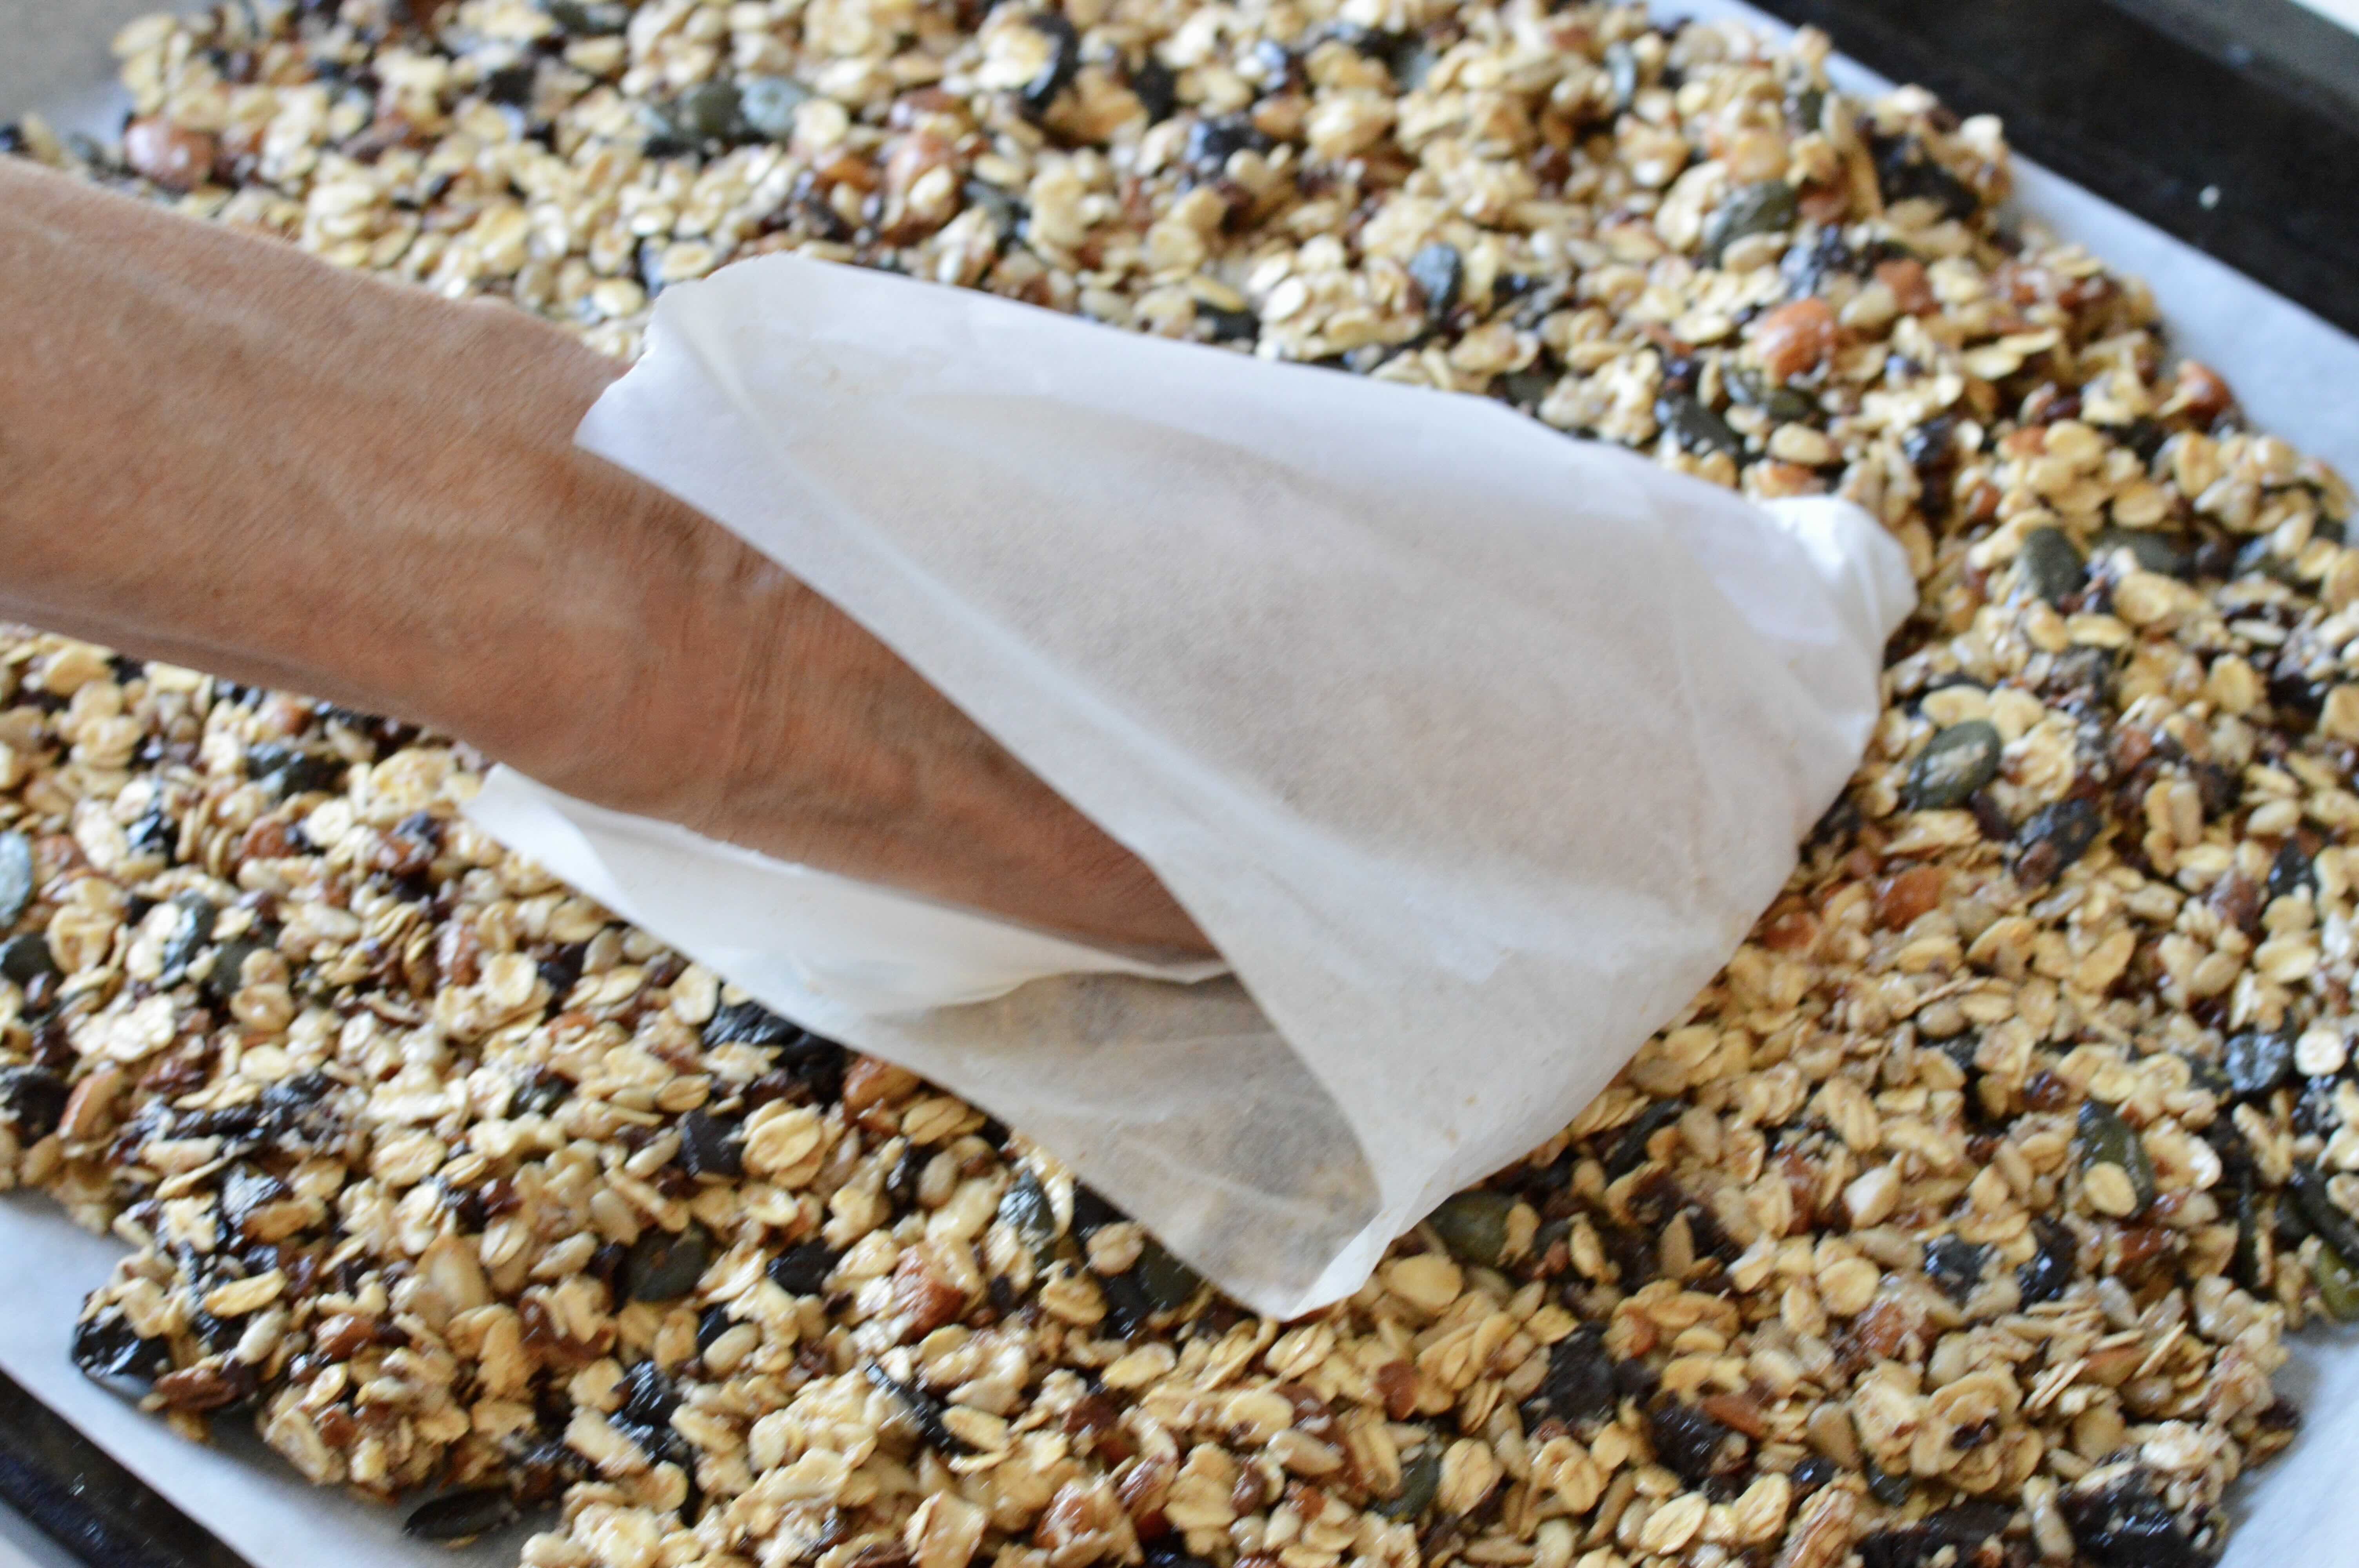
Step 3. Turn mixture onto a large baking sheet lined with parchment. Spread it out with finger tips aiming for a thin rectangle about 37 X 30 cm large and 0.5 to 1 cm thick. Then pat it down tight and even while still spreading. To prevent it from sticking to your hands, I use another sheet of parchment paper wrapped around one hand (see image below). You can also use a large parchment sheet placed on top of mixture and roll it out with a rolling pin or your hands. Whatever works best for you! It’s fine if the edges are a bit irregular. In the end, some bars will be a little irregular — a reminder that they are not store-bought!

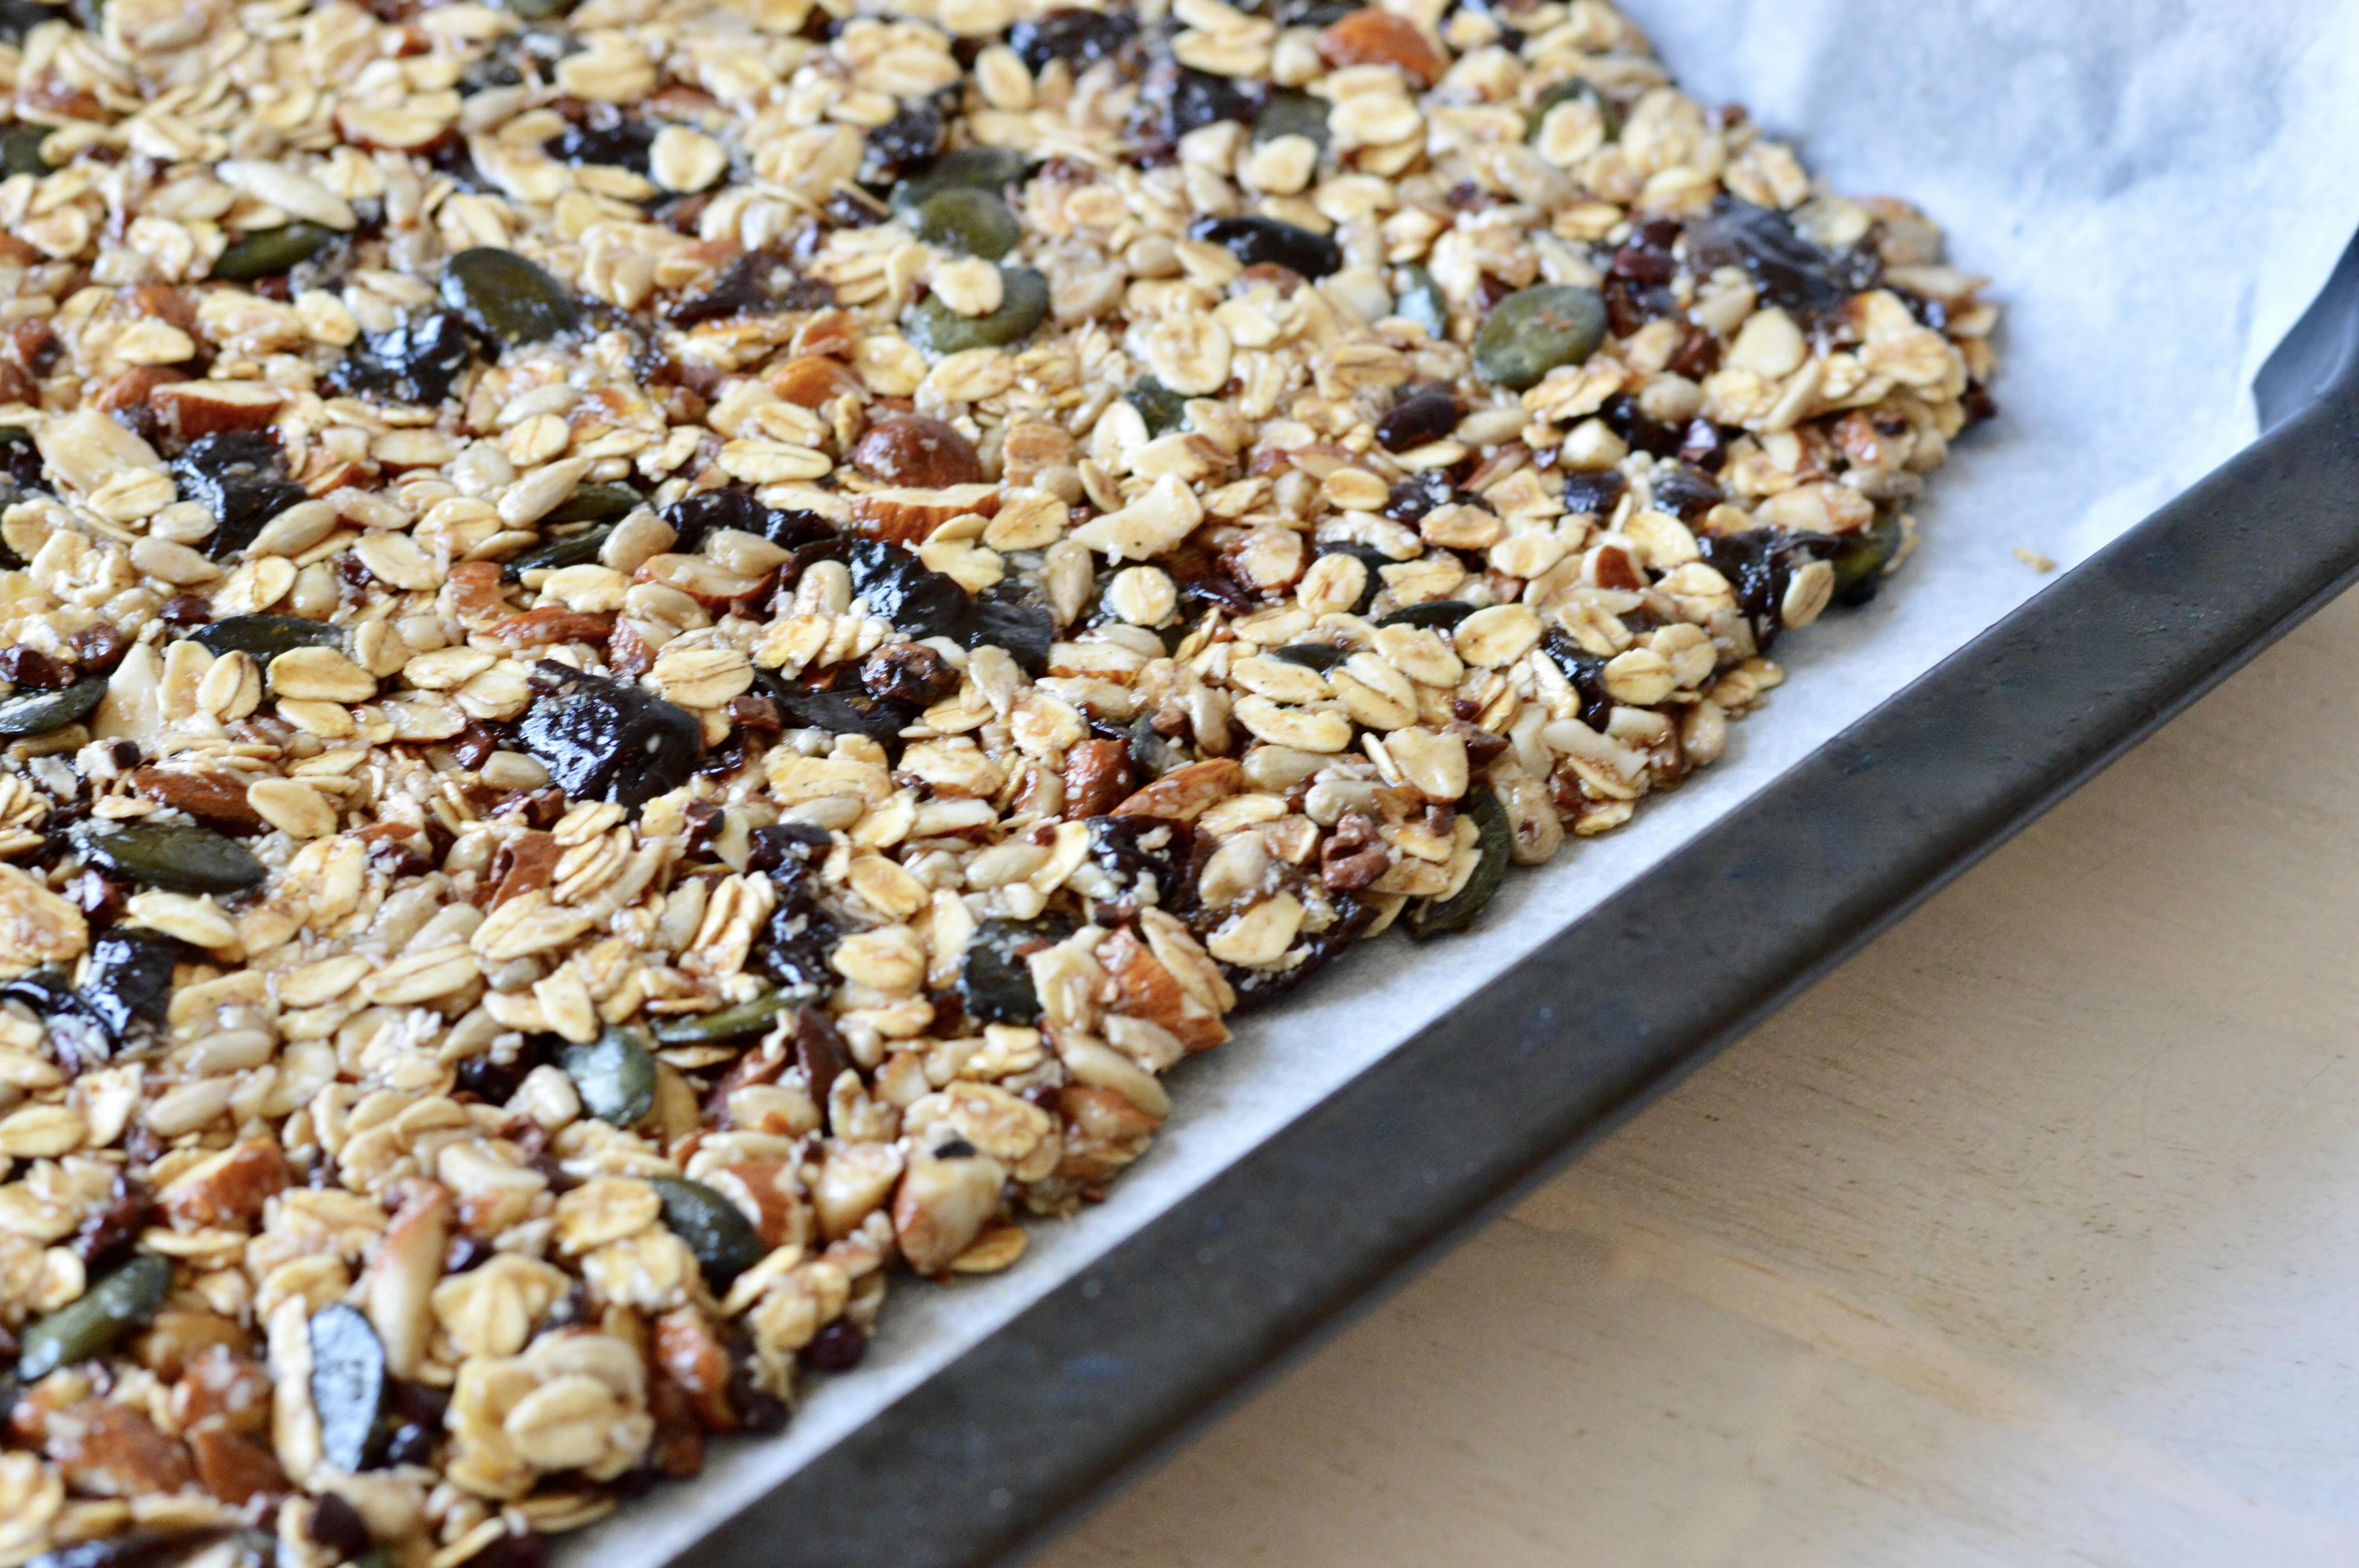
Step 4. Bake in preheated oven on middle rack for 25 minutes, until edges are golden.

Step 5. Remove from oven and immediately slice into bars while warm using a sharp knife (for example, slice 7 X vertically and 2 X horizontally to make 24 bars). To get even-ish bars, when slicing vertically, I like to start from the centre going outwards each time. Slice by pushing downwards with large knife instead of using a sliding motion. It’s OK if the edges crumble a bit while slicing. After, let them cool in baking sheet.

Step 6. Separate bars further with knife once cooler to touch. Allow to cool completely before removing and enjoying. Store in fridge in a sealed container lined with parchment. They keep well and will stay crunchy.
Save leftover granola crumbles you may have in a container and sprinkle in your morning yoghurt.


Enjoy!

My nephew has digestive troubles and isn’t the most adventurous eater, so I was glad to show him how to sneak prunes and other things into these! We made them this morning and he LOVED THEM.
We added flax seeds and didn’t measure perfectly, but they came put great. I’m happy he will get nuts, seeds, prunes, and healthy fats into his tummy.
thanks a bunch!
You are very welcome, Heather! Happy these worked for you and your nephew. Sorry for the late reply.